Guest Management allows you to create or upload, and manage your guest list. Once you create or import your guest list, it will flow seamlessly into the seating chart tool in 2D.
How To Upload or Create a Guest List
The first step in Guest Management is uploading or creating your guest list. When you click on the Guests tab in the menu on the left, you will be brought to the screen below.
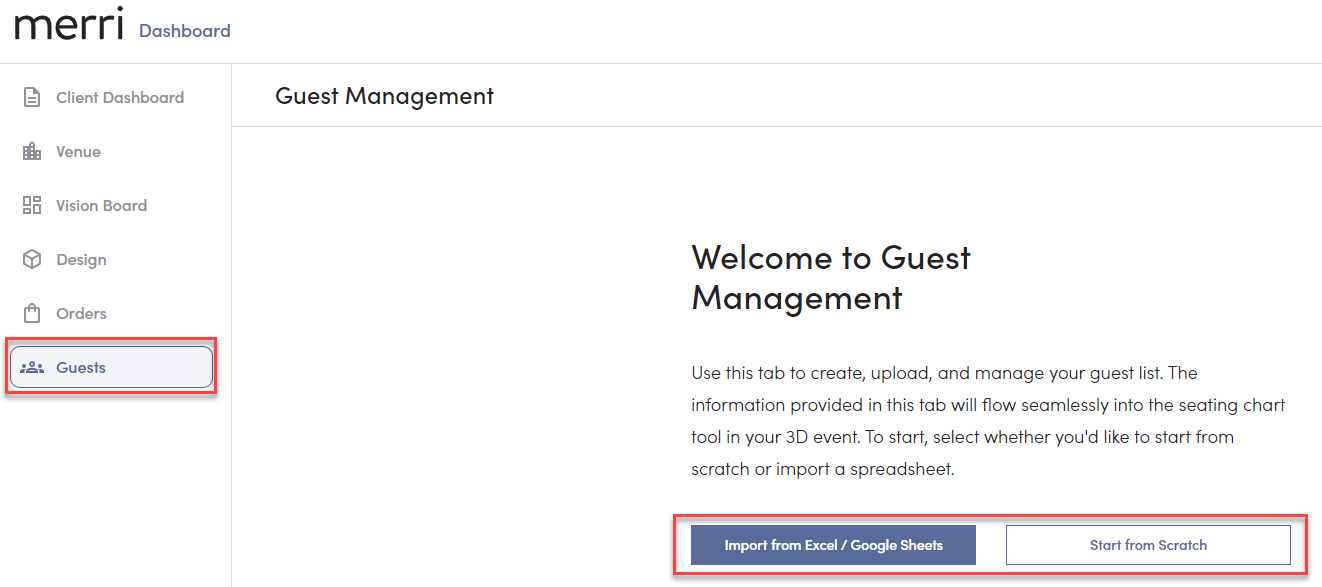
You have the option to either:
- Import from Excel / Google sheets
- Start from Scratch
Import from Excel / Google Sheets
To import a guest list you've already created, choose this option and download Merri's spreadsheet by clicking on "Download Spreadsheet." Follow the instructions to fill out the spreadsheet.

Once you've filled out the spreadsheet, you will save it to your computer and upload it in the "Add File" section.

Your entire guest list will then be loaded into the Guest Management tab including any additional information you included in the spreadsheet like: group, RSVP, meal preference, dietary restrictions, or notes.
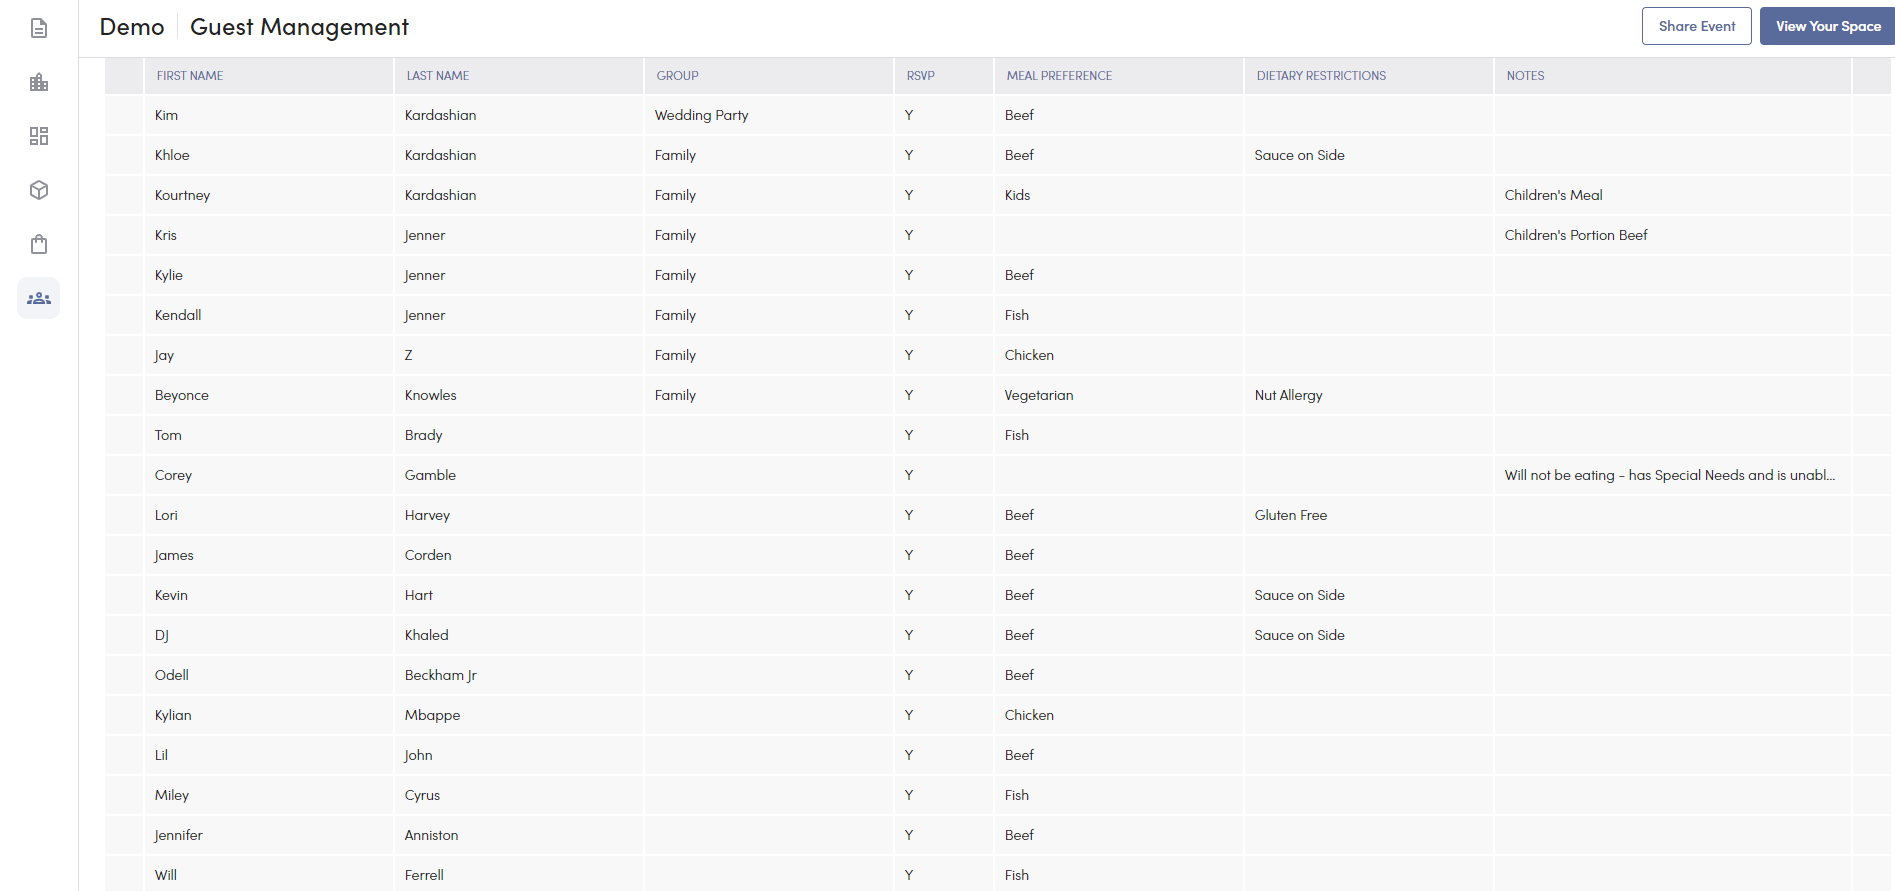
*Click the blue "View Your Space" button at the top right go back into 2D and start seating your guests!
Start from Scratch
If you have not created a guest list externally, and want to create one in Merri, you can start from scratch.
You will click on "Add Guest" to add a new row and fill out each guests information. *Click the blue "View Your Space" button at the top right go back into 2D and start seating your guests!
Guest List Actions
Edit a Guest
Click on any field to edit the guest's information, preferences, or notes

Delete a Guest
Hover over a guests row and click the trash icon to delete a guest from the list.

Number of Attendees
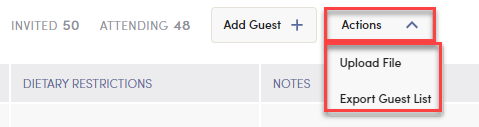
At the top right, next to "Add Guest" you will have a running tally of the number of guests invited and the number of attendees. This will automatically adjust based on the RSVP column.

Upload a New Guest List or Export the Guest List
You can also choose to export your guest list as an Excel file or upload a new guest list.
How To Seat Guests
Once you've created both your guest list and reception layout, you are able to seat guests in 2D from the Seating tab.
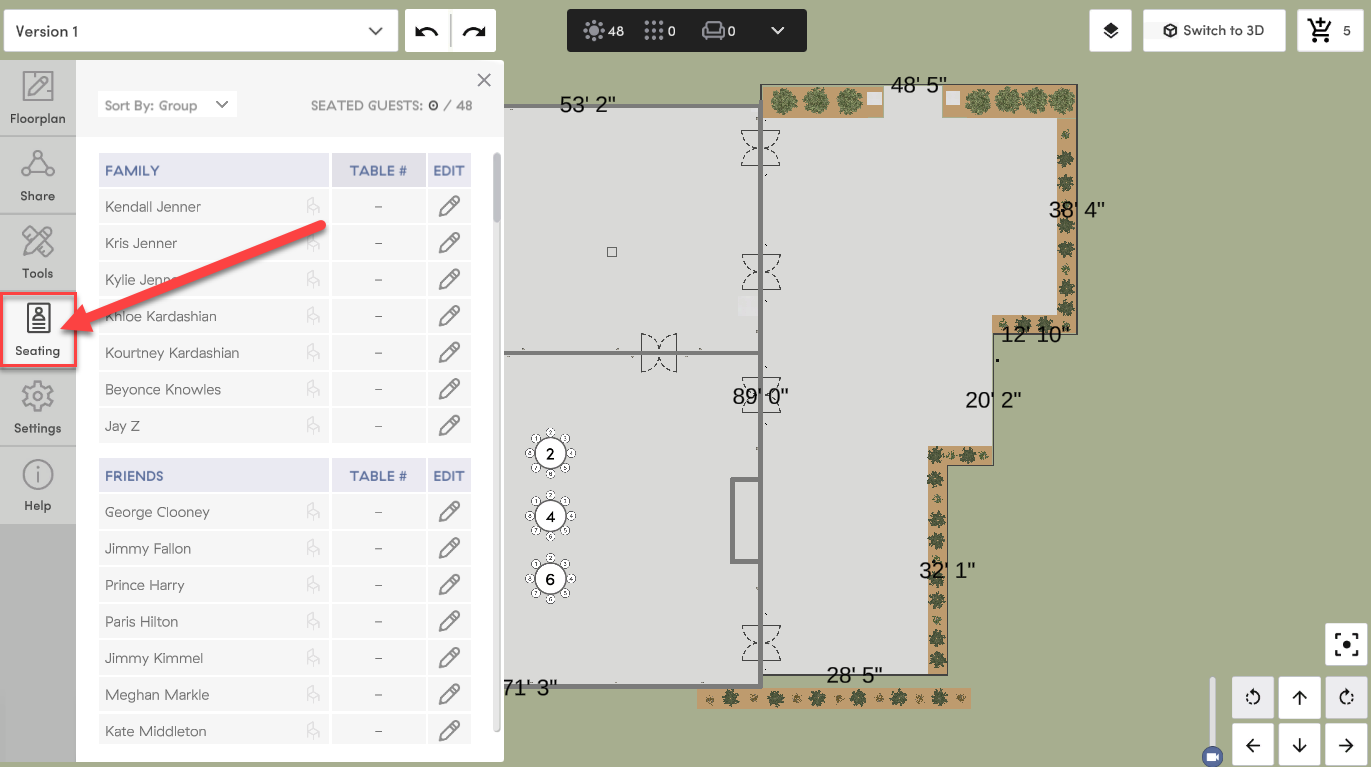
Seating Guests at a Table
In the Seating tab, you are able to seat guests at a table individually or by group.
- Seating Guests Individually
Click on the blank field under "Table #" to open a dropdown of your floorplan's table numbers. Once you select a table number, you can click it to either change the table number or "Unseat" the guest.

- Seating Guests by Group
To seat an entire group, e.g. family or friends, at a specific table, you can click "Table #" next to the group name. Once you select a number, you will see that reflected for every member of the group.

Changing a Guests Seat Number
Once a guest is seated at a table, you are able to change the seat the guest is in.
- Click a table that has seated guests (the seat will be gray instead of white if a guest has been placed there) and click the "Seat Guests" button in the context menu
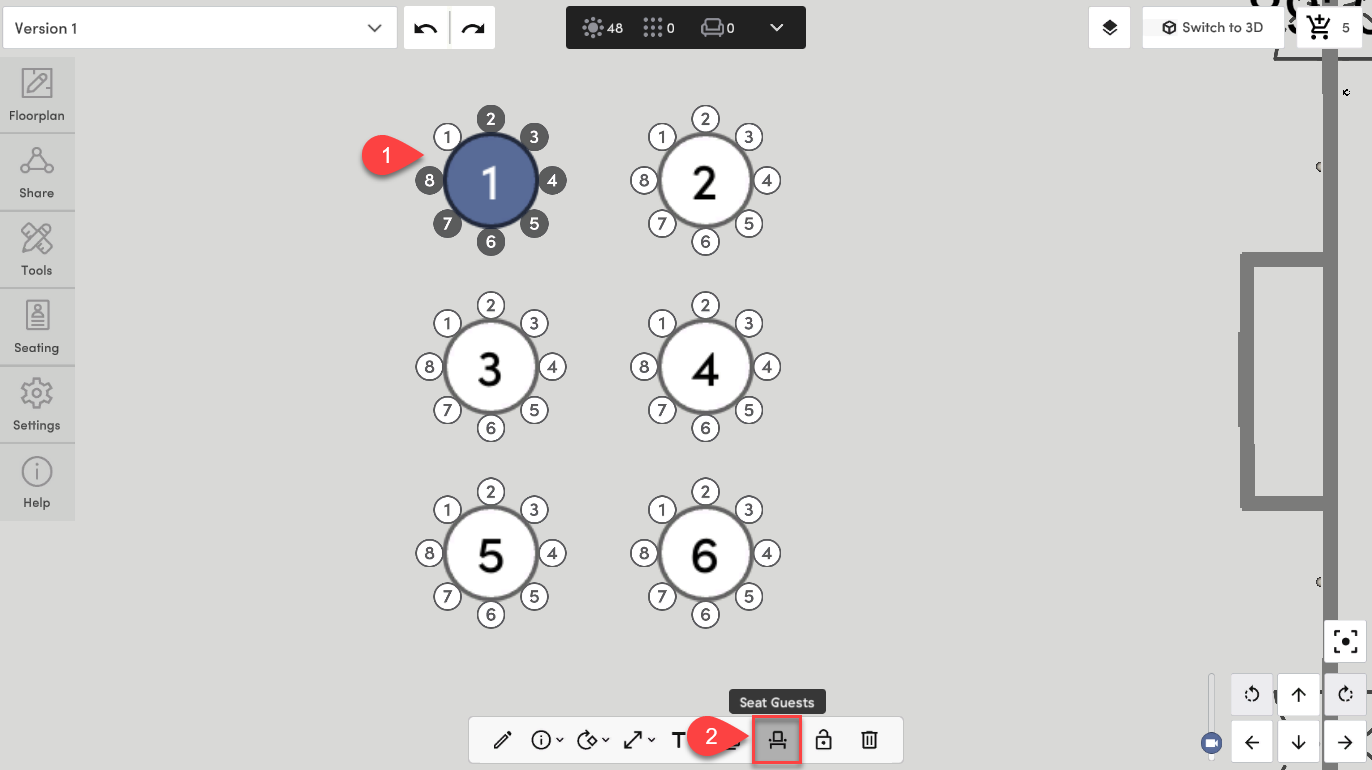
- Once you click "Seat Guests" you will open this window where you can see an overview of the selected table and the seat numbers on the left. Hover over a guest and click the dropdown to select a new guest for that seat.

Exporting the Guest List and Seating Chart
Once you have finished seating guests, you can export the guest list and seating chart as a PDF and Excel sheet.
- Click the Share tab
- Click Export PDF
- Select Custom Export
- Check the box for Guest List (if you want an Excel spreadsheet, as well) and 2D floorplan
.png?width=655&height=368&name=image%20(8).png)