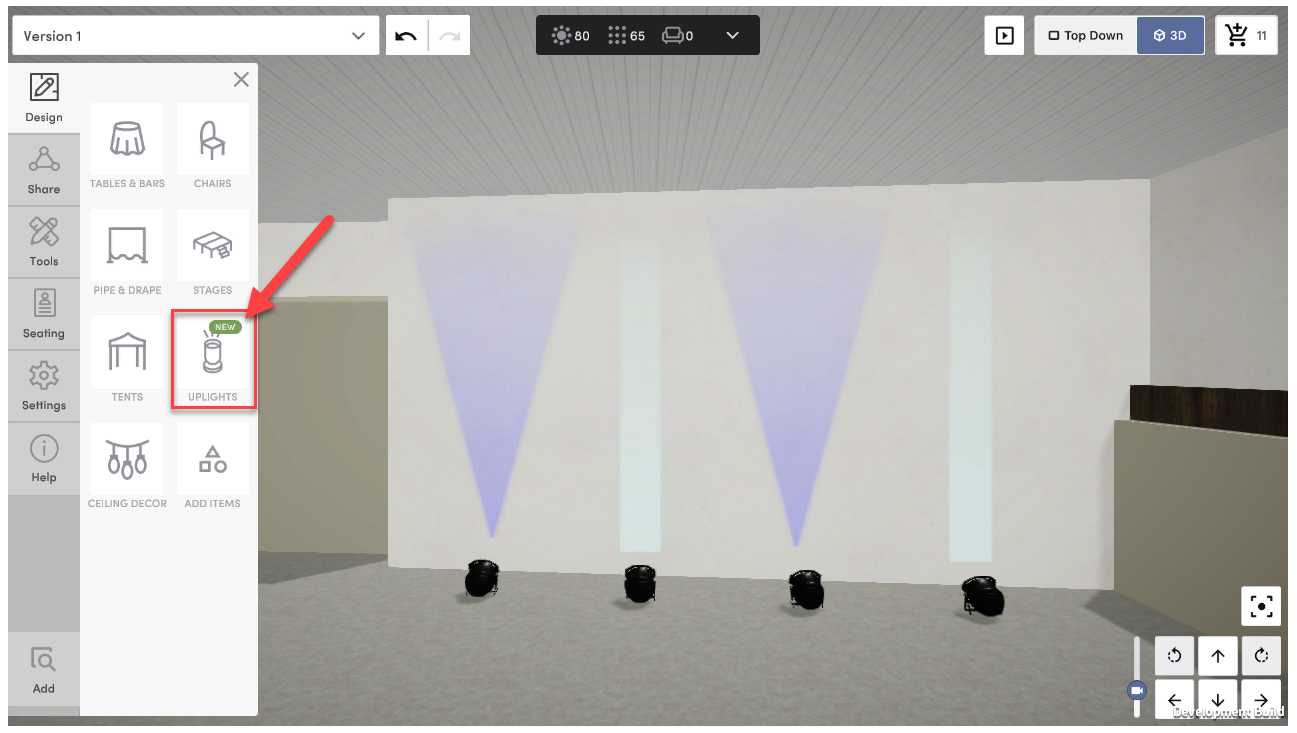
Once in 3D, click "Design" then "Uplights" to enter the Uplights tool.
Configuring Your Uplight
Within your 3D design, once you click into your Design tab -> Uplights -> Add Uplight, you will see all of your configuration options.

You have many different controls for how your uplight will appear, including:
- Height and width of the beam
- Distance from the wall the light is placed
- Quality of the edge (blurry or not)
- Whether there is a glow spot on the ceiling
- AND, the color of the light! To choose the color of the uplight, you can use the visual color-picker, or enter a HEX value.
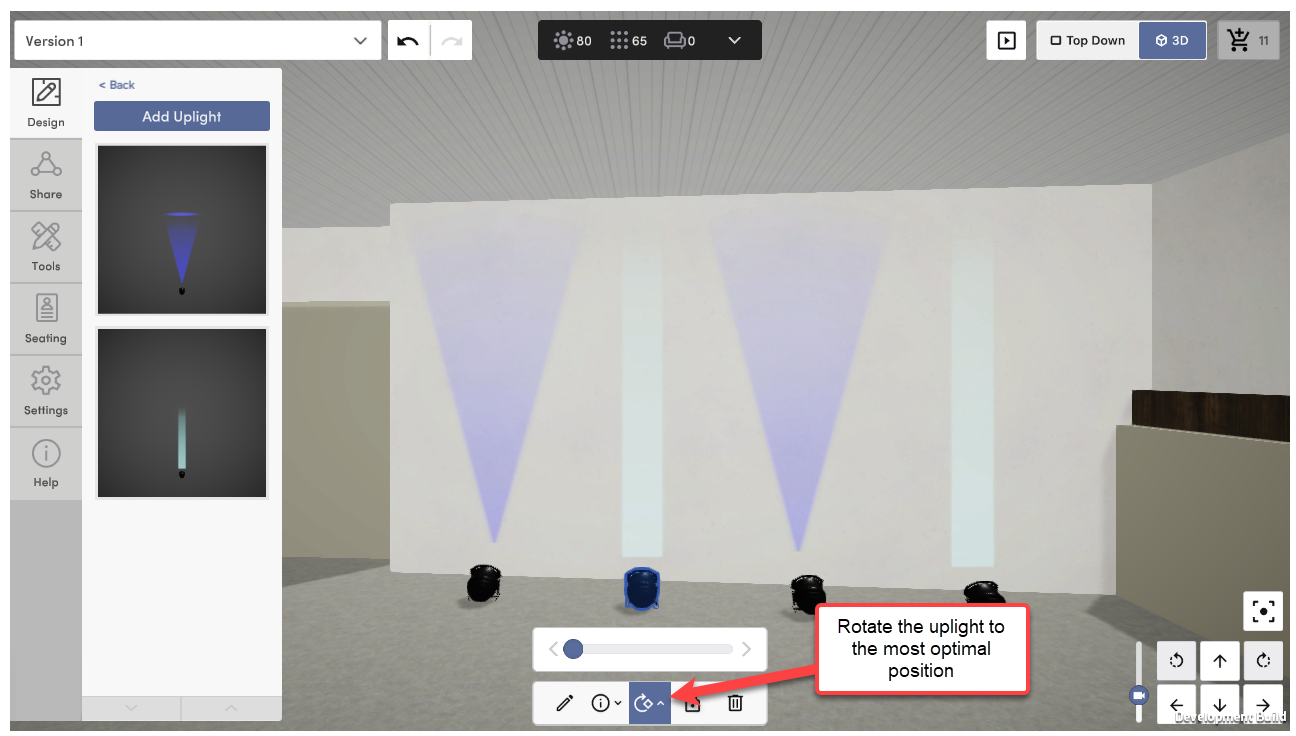
Rotating Your Uplight
Once your uplight is created, you can drag and drop it into your design. Each light can be rotated to hit the wall in the most optimal position.
Pro Tip 😊: Go into "Top Down" view to accurately see the placement of your uplight and position it within your floorplan.
Who has access to uplighting?
Uplights are available for all Venue & Vendor use as part of your membership.
For Event Planners, uplighting is a feature only available on Merri's All Access Memberships. All Access members have the ability to add, edit or remove uplights. Professional members can see uplights that have been placed, but are unable to edit them. To upgrade from Professional to All Access, you can go straight to your account settings.
*If you have any questions or feedback on Uplighting, please reach out to Merri's Customer Support Team at help@bemerri.com!